How to bypass the Windows 11 network requirements during setup
Windows 11 forces you to connect to the internet and sign in with a Microsoft account during the initial setup wizard (OOBE). If you are setting up a new PC or a fresh build, this can block your progress if drivers are missing or if you simply prefer a local account.
Fortunately, there are a few straightforward ways to bypass these restrictions.
The OOBE\BYPASSNRO method
This is the most reliable way to get around the network screen during setup.
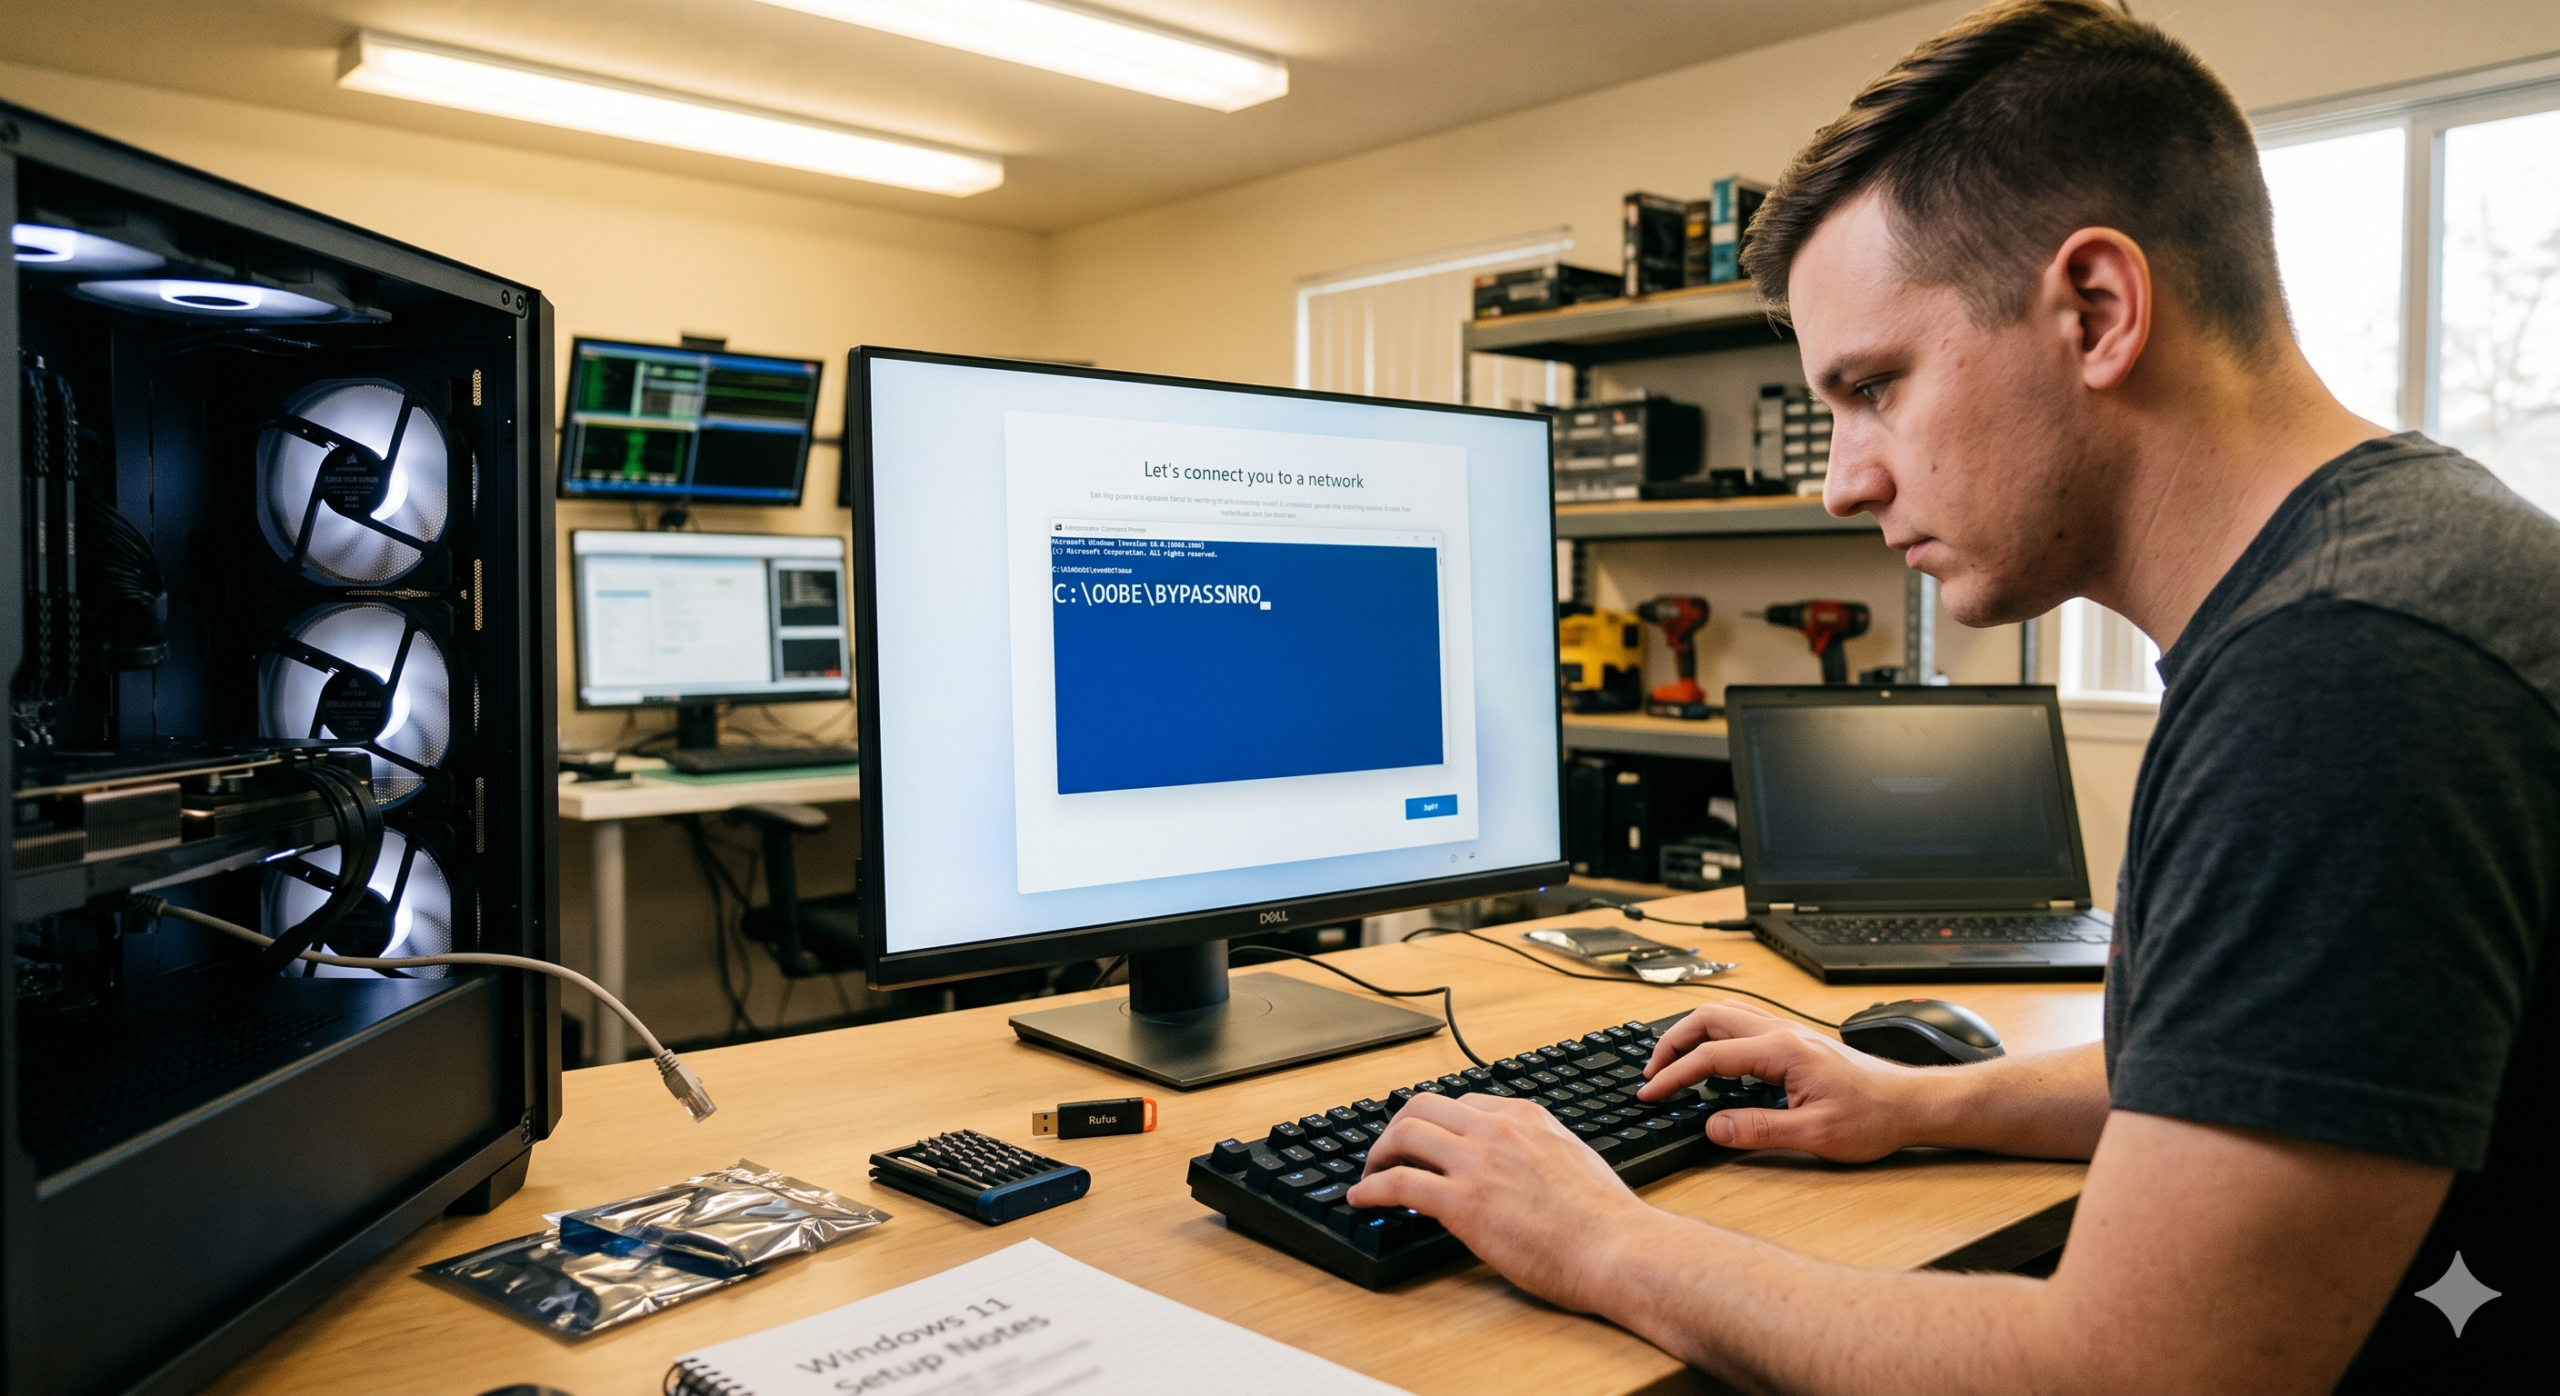
- When you reach the “Let’s connect you to a network” screen, press Shift + F10 to open a Command Prompt window.
- Type
OOBE\BYPASSNROand press Enter. - The system will reboot and return you to the setup wizard.
- Click I don’t have internet on the network screen, then select Continue with limited setup.
This allows you to create a standard local user account without an internet connection.
Pre-configuring with Rufus
If you are doing a clean installation from a USB drive, you can strip these requirements out before you even start.
Download Rufus to create your bootable media. The tool includes built-in options to automatically disable the network and Microsoft account requirements, saving you time during the actual deployment.
Useful keyboard shortcuts for setup
There are two other handy shortcuts worth keeping in your back pocket when working through the OOBE screen:
- Ctrl + Shift + F3 (Audit Mode): Press this on the very first region selection screen. The PC reboots straight into the built-in Administrator account. It is ideal for installing critical drivers or software before a user account is ever created.
- Ctrl + Shift + D (Diagnostics): If the setup wizard freezes or fails, this shortcut brings up the built-in diagnostics page to help troubleshoot the underlying issue.
Let me know if this helps.
Leave a Reply